Neutral Valentine's Day Nail Art: A Guide to Chic & Healthy Nails
Ready to ditch the bold Valentine's Day nail colors this year? Embrace the elegance of neutral tones with a touch of romantic flair! This guide provides simple, step-by-step tutorials for creating stunning nail designs perfect for V-Day, regardless of your skill level. We'll also discuss the importance of nail health and offer advice on safely (or at least less harmfully) removing acrylics at home. Let's get those gorgeous, healthy nails ready for the most romantic day of the year!
Simple Neutral Valentine's Day Nail Designs
This year, let's celebrate Valentine's Day with sophisticated, understated nail art. We've curated three simple designs perfect for a romantic, low-key look, easily adaptable to your personal style.
Design 1: Minimalist Hearts
This design is all about minimalist charm. Think tiny hearts, barely-there, adding a touch of Valentine's Day magic to your neutral base. Did you know that minimalist nail art is trending this year? It's all about clean lines and subtle elegance.
Materials:
- Base coat (protects your nails)
- Neutral nail polish (nude, beige, light grey – your choice!)
- Fine-tipped nail art brush (or a toothpick for tiny hearts)
- Slightly darker neutral nail polish (for the hearts)
- Top coat (for long-lasting shine)
Steps:
- Apply a base coat. This protects your nails and helps the polish last longer.
- Apply two thin coats of your chosen neutral polish. Let each coat dry completely.
- Use the fine-tipped brush (or toothpick) and the darker neutral polish to paint tiny hearts. Experiment with placement!
- Seal with a top coat for extra shine and protection.
Design 2: Neutral French Manicure with a Twist
A classic French manicure gets a Valentine's Day upgrade! Instead of stark white tips, we're using soft pinks, blushes, or creamy whites. This look is both elegant and festive. What's your favorite neutral color for a French manicure?
Materials:
- Base coat
- Neutral nail polish
- Pale pink, blush, or creamy white nail polish
- Thin nail art brush (or striping tape for clean lines)
- Top coat
Steps:
- Apply a base coat.
- Paint your nails with your neutral polish.
- Carefully paint the tips of your nails with the lighter-colored polish, using a thin brush or striping tape.
- Seal with a top coat.
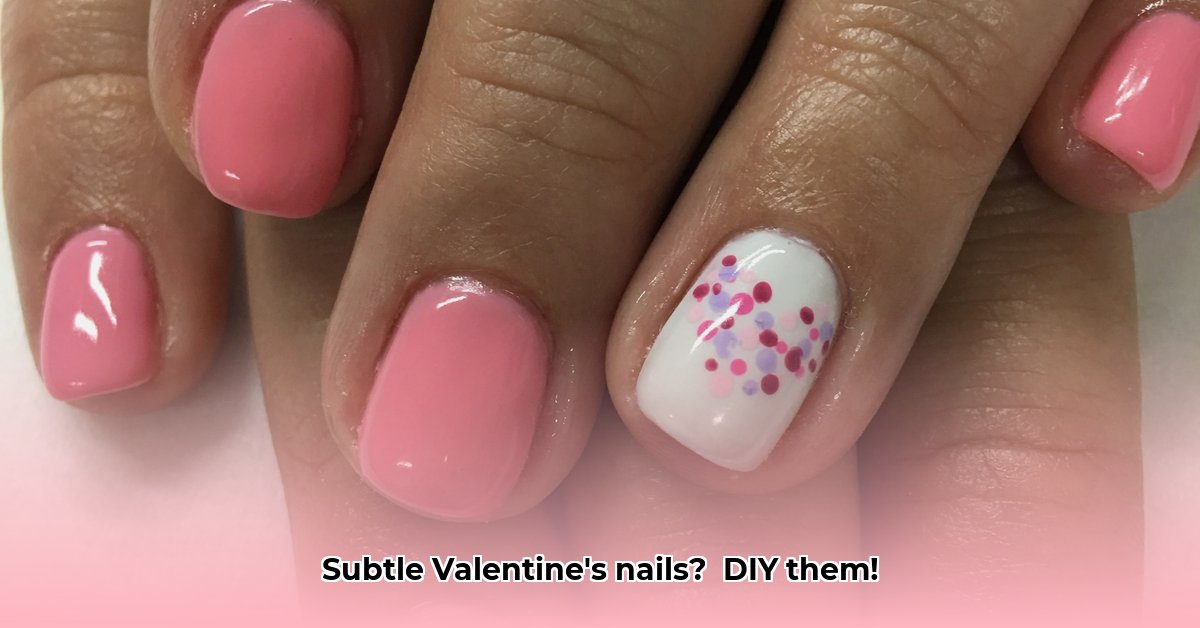
Design 3: Glitter Glam
Sometimes, a little sparkle is all you need! This look is easy and adds a touch of understated glamour. Did you know that adding glitter subtly can elevate a simple manicure?
Materials:
- Base coat
- Neutral nail polish
- Fine glitter polish (silver or gold works perfectly!)
- Top coat
Steps:
- Apply a base coat.
- Apply your neutral nail polish.
- Once dry, add a thin layer of glitter polish.
- Finish with a top coat to prevent shedding and add shine.
DIY Acrylic Removal: A Cautious Approach
Removing acrylic nails at home can damage your natural nails, causing dryness, brittleness, and even infections. Leaving this to professionals is always the safest option. However, if you must remove them yourself (and we strongly advise against it), proceed with extreme caution. This is a last resort! According to Dr. Amy Derick, a board-certified dermatologist, “The chemicals involved in acrylic removal can weaken your natural nails. It takes time and care to fully repair any damage.”
Materials:
- 100% acetone (the key ingredient)
- Cotton balls
- Aluminum foil
- Orangewood stick or cuticle pusher
- Nail buffer (low-grit only)
- Cuticle oil
- Moisturizing hand cream
Steps (Proceed with extreme caution!):
- Gently file the top layer of the acrylic to slightly thin it. Use only a low-grit file.
- Soak cotton balls in acetone, place on each nail, wrap with foil, and let sit for 15-20 minutes (no longer!).
- Gently push off the softened acrylic. Avoid harsh force.
- Lightly buff any rough edges with a low-grit buffer.
- Apply cuticle oil and hand cream to hydrate.
Key Takeaway: Prioritizing nail health is paramount. Choosing the right designs and removal methods ensures gorgeous, long-lasting results without compromising your nail's well-being. Remember to give your nails breaks between applications of acrylics to allow for healthy growth.